Tips and Techniques for a Perfect Ceiling Paint Finish
- All good painting projects begin with good preparation. So, clear your area, lay down a dust sheet, then grab yourself a ladder, brush, tape, roller sleeve and frame, extension pole and paint tray/paint scuttle.
- Remove cobwebs and dust with a clean sweeping brush, and give the smooth ceiling a light sanding, wash the area with Sugar Soap if required. This removes the buildup of dirt and grime from everyday cooking.
- Water stains should be primed with a stain block paint, and allowed to dry.
- Tape around any ceiling lights, using masking tape, spots lights can usually be dropped down for protection.
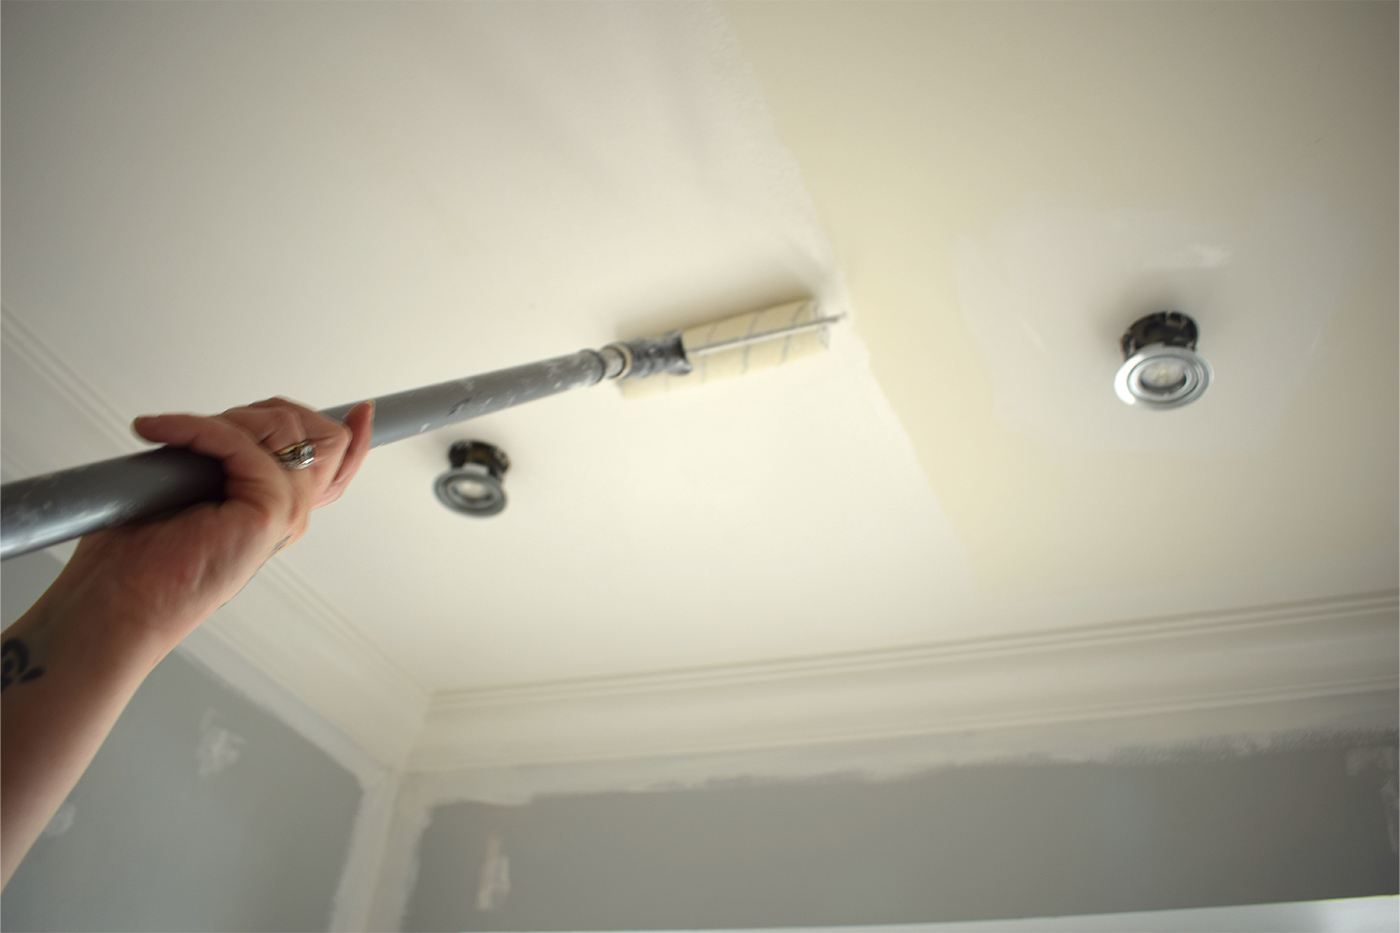
- Just like a vertical wall, begin by cutting-in with a brush, everywhere the roller won’t reach. Using a cutting in brush, paint around down lights and edges to create a border.
- If you are painting your walls afterwards, painting down from the ceiling on to your walls by an inch or two, helps with cutting in your wall colour later.
- Once you’ve loaded your roller evenly, begin in one corner and move fluidly in a parallel motion. Roll as far into the previously brushed sections as possible.
- Now that you’ve finished your ceiling, while it’s still damp, you can begin laying-off the paint. Using a roller begin in the top left corner of your ceiling and gently pull towards you in a straight line with light pressure. This lightness of touch will prevent keep a uniform finish.
- If your ceiling requires two coats, simply wait for your first coat to dry and repeat the steps to reveal your beautiful new celling.