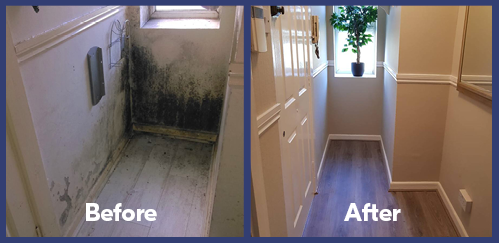
Preparing ceilings and walls for Anti Mould Paint
- Completely remove all traces of loose, flaking soft and friable paint back to a clean firm surface by scraping and or washing.
- As with all painting jobs always ensure you are wearing the correct protective clothing, gloves and mask.
- Remove any existing mould growth on ceilings and walls by scraping or brushing with a stiff nylon brush, (NOT wire).
- Make good any surface imperfections to original profile with a suitable filler and allow to dry thoroughly.
- Lightly sand all areas and any glossy surfaces with sandpaper to achieve a good key.
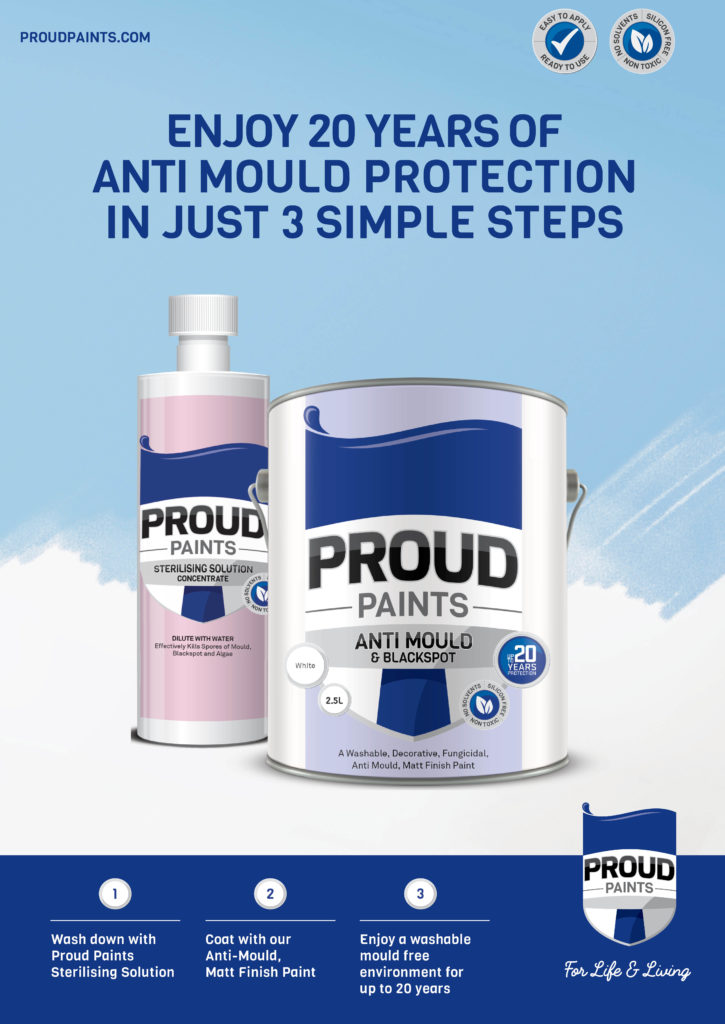
- Sterilise the walls by applying a liberal application of Proud® Paints Sterilising Solution and allow to dry, repeat washing down process if walls are badly effected with mould growth.
- Clean away all dust and debris from the surface before painting
- If you have any brown watermarks/staining please stain block these with a suitable primer.
- Apply two coats of Proud® Paints Anti Mould Paint Matt. Allow 2-4hrs between coats.
If you are painting new plasterwork, with no mould, your 1st coat may be thinned with water by 10%, so about .5L water to 5L of paint. Or use a less expensive emulsion paint to 1st coat/prime and finish with two coats of Proud® Anti Mould Paint.
During preparation, avoid the inhalation of dust. Wear a suitable face mask, if dry sanding. Special precautions should be taken during surface preparation of pre-1960’s surfaces over wood and metal as they may contain harmful lead. For further advice, please contact Proud® Paints Limited.